Create a new dashboard
Each personal dashboard is an independent canvas — its own layout, its own widget set, its own URL. You can have as many as you need (e.g. one per project, one per workflow, one per role).
Goal
Create a new personal dashboard, give it a name, optionally add a description and an icon, and land on it ready to add widgets.
Prerequisites
- Personal dashboards must be enabled by your admin. If the + Add dashboard button is hidden in the sidebar, it has been switched off — see your administrator (or the admin guide).
Steps
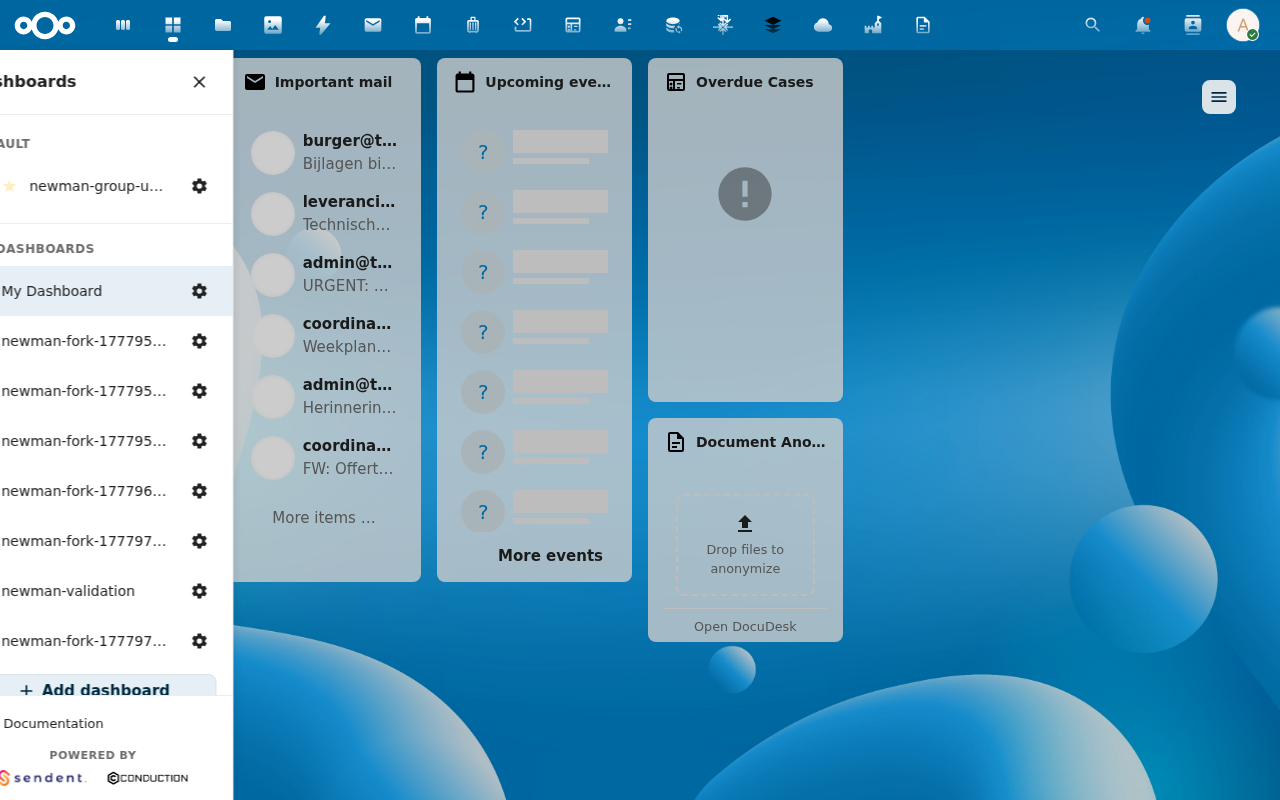
1. Open the sidebar and click + Add dashboard
2. Fill in the create modal
A configuration modal opens with these fields:
- Name — required. Used for the sidebar label and the URL slug.
- Description — optional. Shown in admin tooling and inside the configuration modal.
- Icon — optional. Pick from the registered icon set, or paste a URL for a custom icon (see Dashboard icons capability).
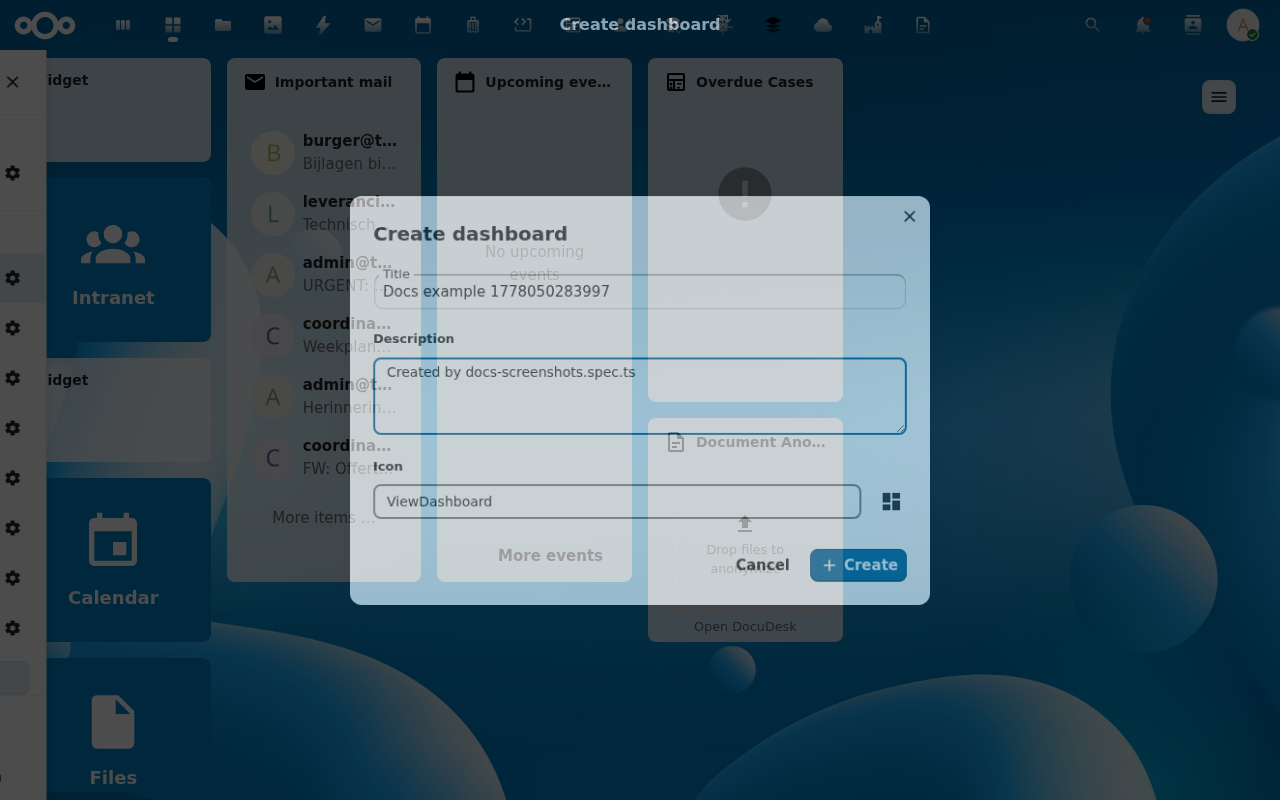
3. Click Save
The new dashboard is auto-activated, appears at the top of MY DASHBOARDS in the sidebar, and is bootstrapped with the default widget bundle (three tiles + a Files widget). You can now add more widgets, reposition them, or pin this as your default.

Verification
- The sidebar shows your new dashboard's name, highlighted as active.
- The URL bar reads
/apps/mydash/<your-slug>— the slug is auto-derived from the name. - The grid contains the four default placements (Conduction tile, Sendent tile, Nextcloud tile, Files widget).
Common issues
| Symptom | Fix |
|---|---|
| + Add dashboard button is missing | Personal dashboards are disabled by your admin. |
| Save button is disabled | The Name field is empty — required. |
| "Slug must be unique among siblings" error | A dashboard with the same auto-derived slug already exists. Pick a different name or set an explicit slug via Dashboard configuration. |